Posted on

02J Case Modification for Mk1 Install

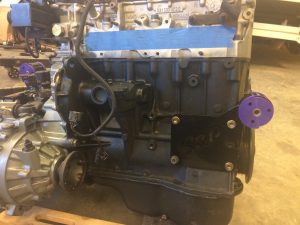
I am going to cover the install of the MK1 02j transmission mounts onto the transmission before you bolt it into the car.  The 02a installation is very similar except the shift tower, you also don’t have to drill out any case holes.


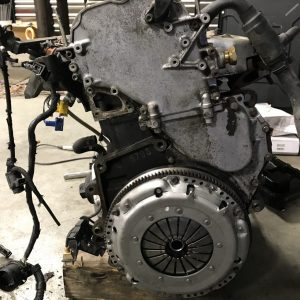
Here we start with a fresh mk4 TDI transmission, Code 02j, case is an EGR,

Remove the aluminum trans mount bracket if you haven’t already and the steel support bar that connects it to the case.


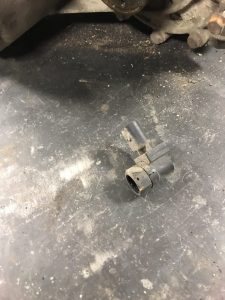
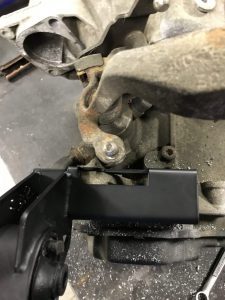
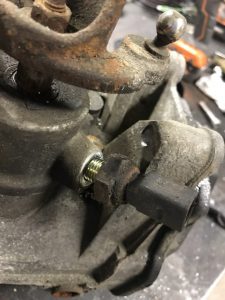
Next we remove the speed sensor, you will see that there is a 24mm nut under the plug of the sensor, you can remove just the top section of the speed sensor, this is what you want to do if you plan to use your mk1/2 cluster and one of our speedometer cables.


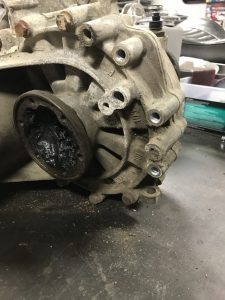
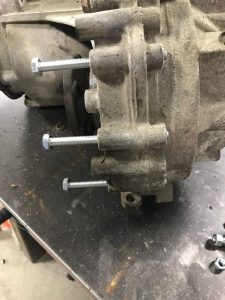
Now Remove the case bolts you see above, and replace them with the 3 bolts provided in your hardware kit, thread them until they are just starting to poke out the other side of the case,


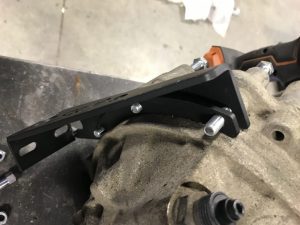
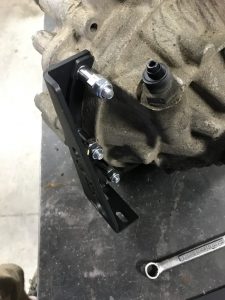
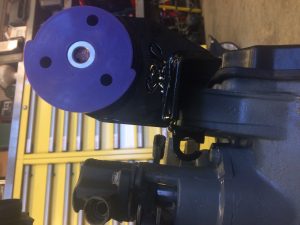
Now slide the mount bracket and the half moon shim on until they are flush to the case of the transmission, once they are onto the bolts, you can thread the bolts all the way into the case,


Now start the tunnel nuts onto the threads of the bolts and run them down tight against the shim and bracket, then install the lock nut after, tighten it down against the tunnel nut.


02J CASE MODIFICATION

If you have an 02a case you will find that these holes are not threaded, so no modification is necessary.  The 02j case however is threaded, we need to drill them out with a 25/64 bit, you can use a 3/8 and ream it or file it, but 25/64 will be the cleanest/easiest.. You are drilling threaded aluminum, so a bit of speed and very light pressure will help the bit from hanging on you.


DO NOT try to run this bolt into an 02j case without drilling it out first, you will crack your case and probably wreck it.. 

Ok so we’ve drilled the hole and haven’t broken our wrist.. great!  Now the bolt slides in no problem,

02A CASES, you will now install the shim in-between the upper mount and the trans case to take up the 1.5mm difference in width between the 2 cases. 

02j tower (can be used on either 02a or 02j case) , if you are running a hydraulic clutch you can keep your reverse switch, skip to tightening down the upper trans mount bolts.

If  you are running a cable clutch remove the reverse switch and install the provided delete plug, also grab the cable clutch mounting tab out of the hardware bag.

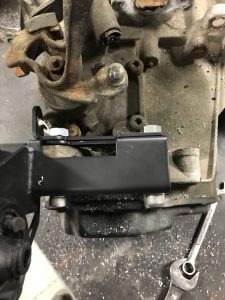
Slide the bolts from the 5th gear cover side through the mount, into the case and out the other side, if you have the cable tab slip it onto the bolts and then add the provided nuts.. tighten down, admire your work, get ready to put it onto your motor and into your mk1!


Mount Brackets used in this kit HERE

Posted on

Prepping Your ALH/BEW For a MK1 Install

I get a lot of the same questions about how to prep your motor for a mk1 install:

  • What do I need to remove ?
    • You need to remove anything you plan on deleting from the motor management system,  this could be accessories like AC or powersteering, hardware like EGR/ASV systems (check with your local regulations before removing emissions items) or possibly sensors such as MAF, Coolant Glowplugs, 02 sensor, turbo position sensors etc (please discuss this with your tuner/harness builder before you toss them in the bin)

Below I will go through some steps on how to attach our mk1 tdi motor mount onto your block, please note I am not covering this as a step by step, but more to answer the most common questions.

Use common sense, ask questions before assuming, don’t eat yellow snow..


ALH Motor Timing Cover Modifications 


Starting with the motor mount, this is how your bushing should be oriented before you mount it to the motor.


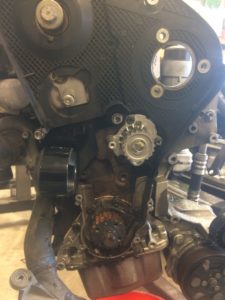
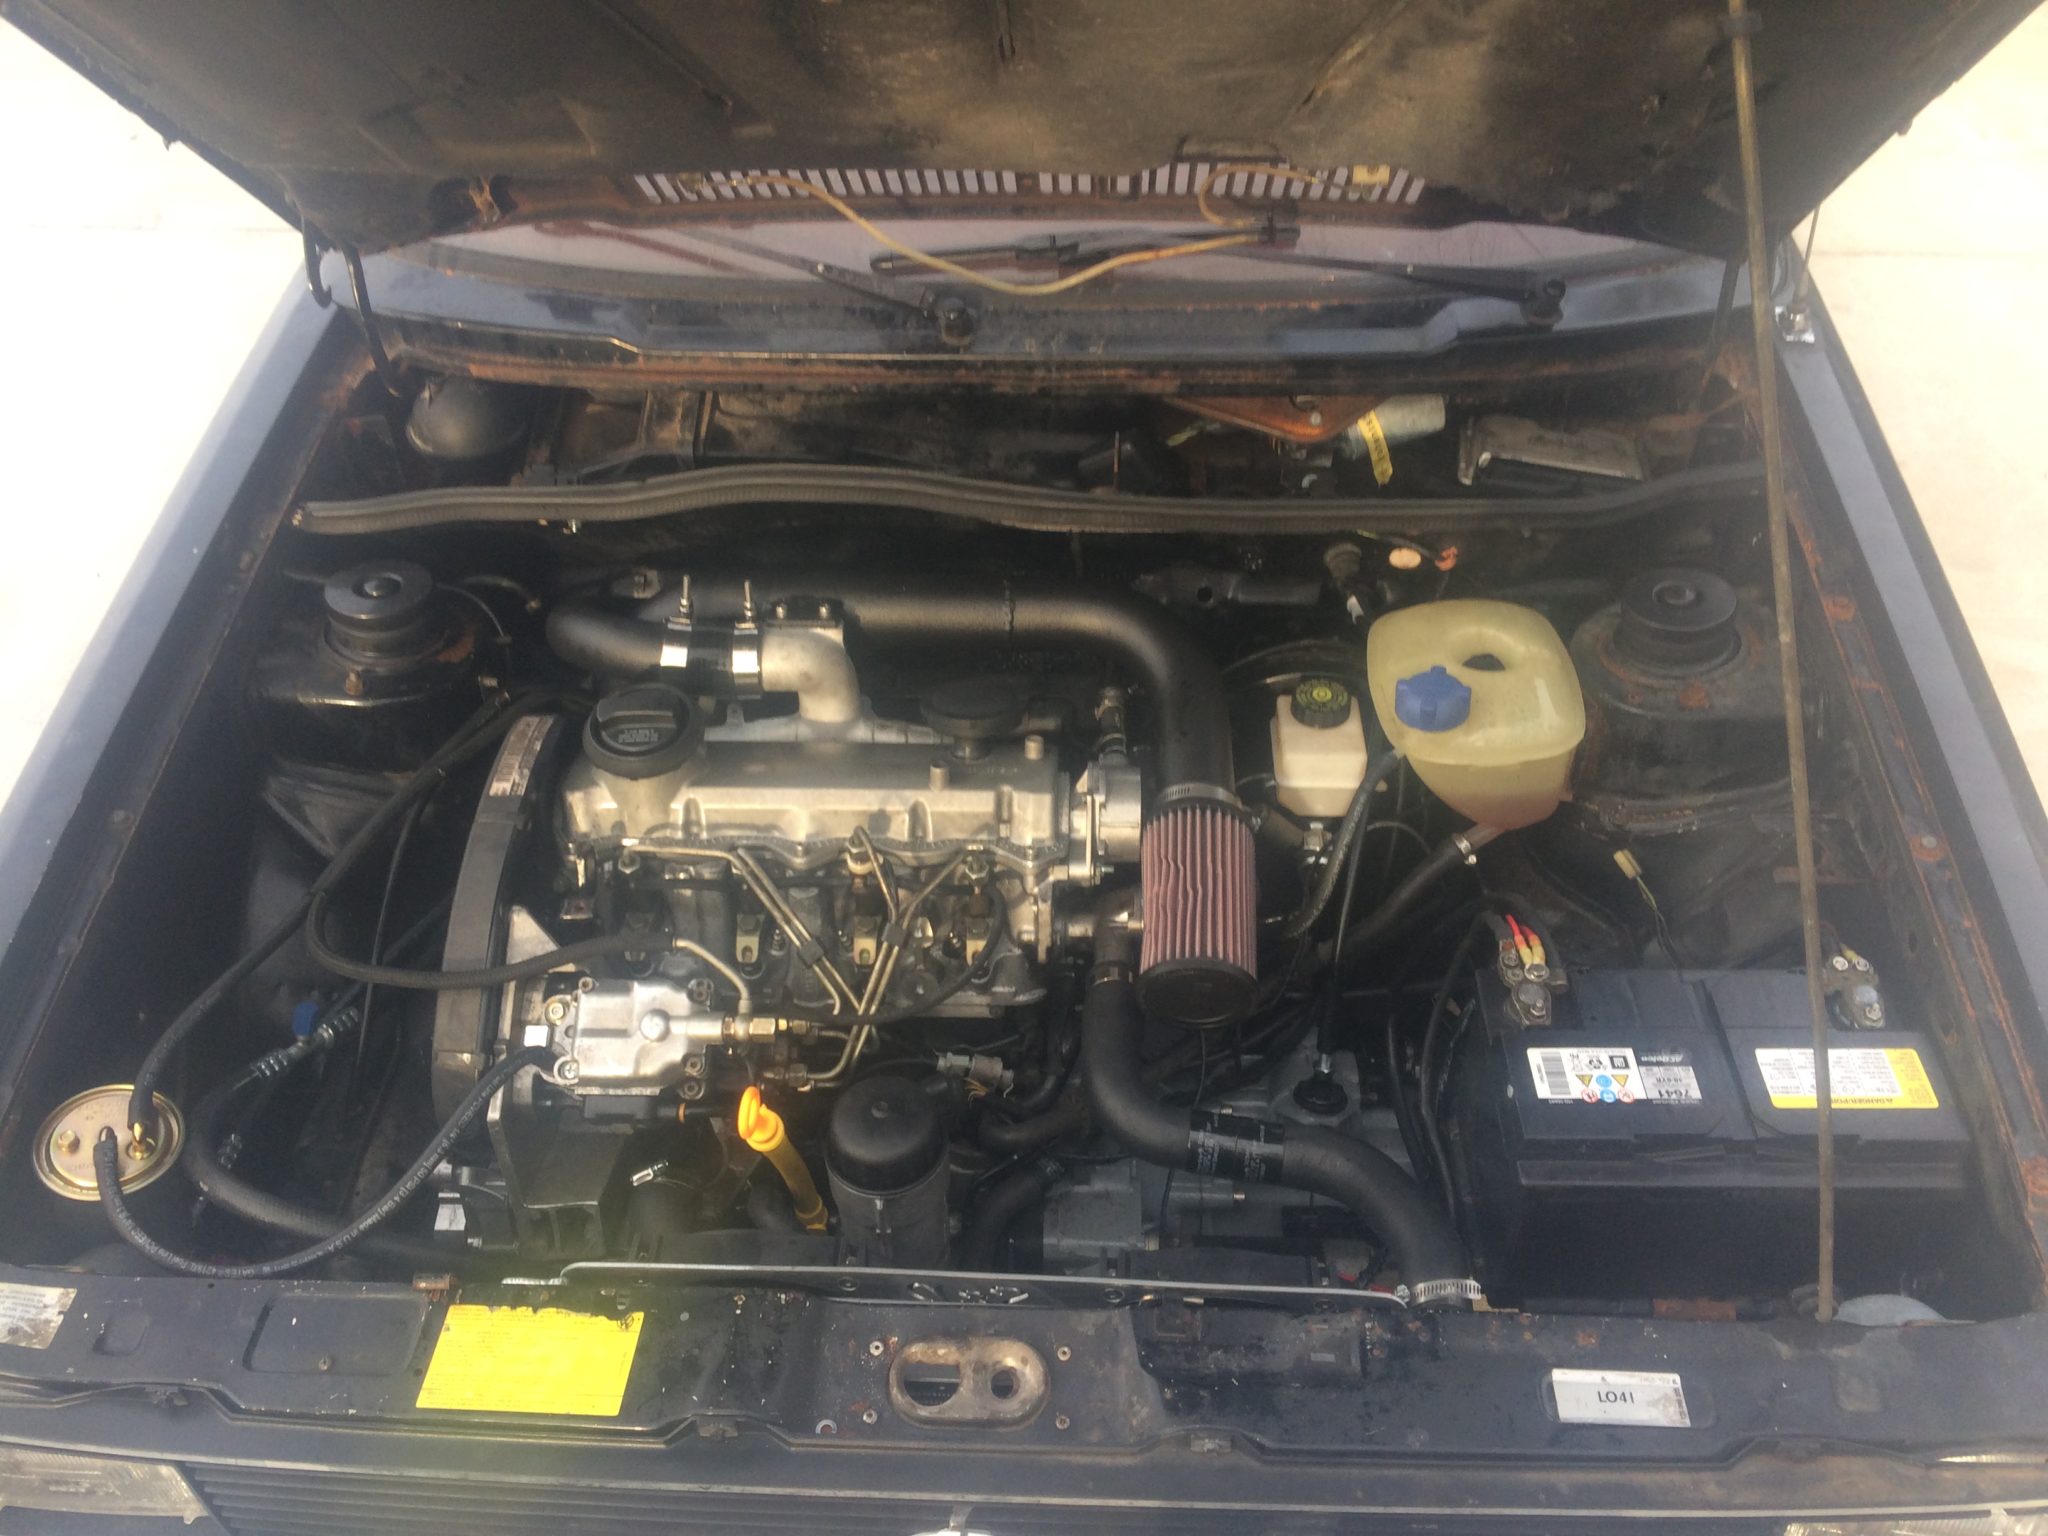
Next we see an ALH with the injection pump and tensioner removed (the pump bolts need to be removed and the outer pump sprocket are going to need to come off.  Also remove the cam gear and idlers (if you don’t know how to do a timing service on a TDI look it up BEFORE you take this apart)


The reason for taking all of this off is to remove the rear timing cover so we can trim it to allow room for the new motor mount :

Need to trim this lower corner off, you can see how deep to cut it by holding the new mount up to the 3 threaded holes on the block where the original aluminum mount bracket was bolted.  Make small cuts, its waaaay easier to take alittle more off, vs adding material back.

In the picture above you can see how the new cutout allows for a flat mounting surface across the 3 mounting holes


With that you can mount your motor mount to the block and you are ready to re assemble the timing components * DO NOT INSTALL THE LOWER 1″ roller and stud, yes it will clear the engine block mount, but it will hit your mk1 frame rail, DO NOT INSTALL IT, install the belt like normal and tension the belt like normal, it will be fine, there is plenty of room in the tensioner for the additional slack.


BEW Timing Cover Modifications


Starting with the same mount and bushing as the ALH above, you can see where the mount needs to go, you need to remove all of the timing components to get the rear timing cover off,


Take note of the location of the holes and the area you need to cut to get the mount bracket flush on the block


Make your cut and test fit, the mount must sit flush on the block..

Tighten the mount down once the timing cover fits around the mount bracket.  Reinstall timing components leaving out the lower 1″ roller just like the ALH.

ALH and BEW OUTER COVER

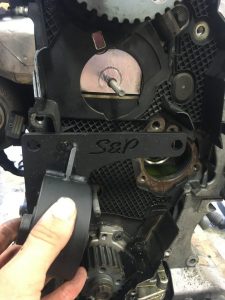
You can see in the first picture the timing cover is very close to the mount bushing, which means it will hit the frame mount on your mk1, it needs to be trimmed flush with the belt (the second picture shows a slight over trimming honestly but it will still be ok, you will also need to trim the upper cover slightly on both the BEW and ALH..

Engine mount being used can be found here 

TDI Mk1 Swap kit can be found here

Again if you have questions on how something goes, shoot an email, watch a youtube video, something other than assuming..

Posted on

Building a Wood Slat Mk1 Roof Rack

You’ve seen them. A vintage coke cooler on top of a wood slat roof rack, on the right car, its perfect..


I have made a few over the years ( I like them best on Jettas personally).  A few years ago I had some purpose built towers made to hold the roof rack as tight to the top of the car as possible, making it more aerodynamic (or aero-dramatic, same same)  
These are made from 304 Stainless, so you can run them in a raw finish, polish them, or have them coated, but you don’t have to worry about them rusting.


You can pick up a pair here  to start your rack project.


Now onto my Jetta and its new roof fixture.


I made my crossbars from some aluminum flat bar that I had bent to a 2.0″ ID and 1/2″ legs, but you could use some channel, or rectangle tube, even some hardwood like oak, teak, walnut etc..

I made the cross bars 40″ long, that keeps it from sticking out over the drip rails of the car and risking my clumsy ass from splitting my head open getting in and out..

You can see there is some room to make them alittle longer but this works out well for the spacing I wanted.

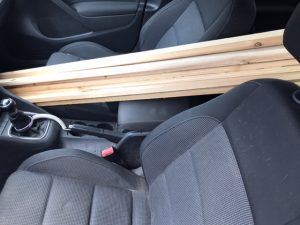
Off to homedepot for some cedar, 6-7 1x3x8 boards, my poor mk6 tdi has to be a truck sometimes.. 

Back at the shop I cut the boards down to 48″ and 2 to 41″


The next bit is to get the spacing you want, I ended up around 1.75″ between each slat giving me at total width of 41″ (that will overhang my crossbars by 1/2″ on each side, which helps to bury it where you cant see the bar ends, if you have a taller cross bar you may want to make your overhang greater than 1/2″ but I wouldn’t exceed about 1/3rd the width of your slat.

After your have the spacing you’re happy with, sand/prep your slats for stain/paint/sealer.  I rolled all the edges of mine with a palm sander to ease some of the sharp cut edges off and make them a bit more “weathered”


Now you are ready to glue and screw/nail/staple your boards to the wooden cross bar (if you’re not using a wooden top cross bar, you’re ready to stain/paint/seal your strips and attach them each individually to your tower cross bar) I glued mine and used a galvanized 1-1/4 crown staple to attach the slats to the wooden cross board. You also could use screws from the bottom side (so they are hidden).


Now I needed to stain my assembly (Staining after allows the glue to adhere to the wood and not to the sealer) I used a thompsons water based sealer for fences and decks, I had some left over from my summer deck project last year.


Last thing to do is to attach the unit to the cross bars, I counter sunk some M8 allen head screws, and tapped my cross bar for m8x1.25 in 4 places, drilling all the way through both layers of the roof rack.  Use a locking nut from the bottom for added security against the bolts backing out with vibration.

Time to throw some gear on top and cruise around, one of my favorite parts of a roof rack is opening the sunroof, you get the wind, and the open air feel, without being baked by the sun.


Posted on

Mk1 Vr6 Hardware Videos and Install Tips

I made a couple hardware overviews for our MK1 Vr6 kits, and I still have a few questions that I either didn’t address in one video or a tip I forgot, I am going to add a couple more videos soon, but this may make finding the info you’re looking for a little easier, if you have questions before during or after install please feel free to email me! Sal@s-pautomotive.com


General install Tips:

  • Press your bushings in before you mount the brackets onto the motor or chassis
  • If you have an 02j trans the upper trans mount holes are threaded, you need to drill them out to use the hardware provided
  • Grease the inner speedo cable with a silicone grease before installing!
  • I find it easier to set the radiator in the core support before I install the motor – but not bolt it down
  • For a cleaner install on a AAA motor if you’re not using the AC/PS systems cut the bracket off just below the alternator mounting points to the block.
  • Always start all the bolts in a bracket, manifold,cover etc before tightening any of them down
  • If you are using the mk1 fuel lines, the best place to cut them I have found is just before the cross behind the steering knuckle, you can carefully hand bend them up toward the passenger strut tower and trim again to your desired length
  • Work the exhaust system from front to back, hang everything loose in the clamps and work each section into final placement front to back as well
  • If you’re using one of our harnesses the “Trigger” needs to have power in both the key positions START and RUN – this is often the problem for a no start, someone didn’t check that the wire they chose had power during the crank key cycle. A good source for this is your former coil power wire on gasoline cars, on diesels the injection pump power wire works well.


Posted on

Bruce’s Black 84 GTI


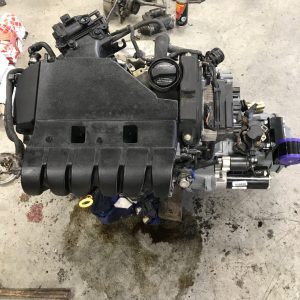
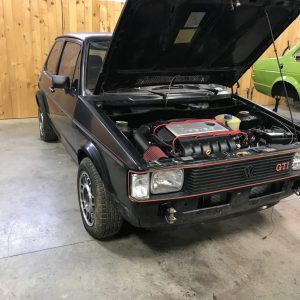
Bruce wasn’t a euro guy, that was until he happened across an 84 GTI that needed some love.  Unfortunately some shady people took advantage of Bruce’s good nature and after starting on a 1.8t swap, his car sat and alot of the parts were “missing” .

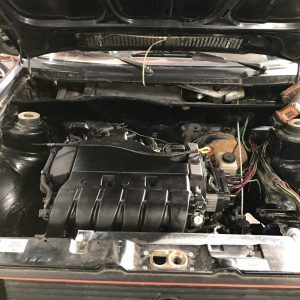
He brought it to me and after assessing the missing parts, and the general state of the car he decided that he would rather start over with a different driveline and settled on a 12v VR6 that I serviced up with new chains, guides, ignition wires, plugs, new gaskets, fresh clutch and then bolted the S&P Vr6 hardware kit to the VR lump and set it into the mk1 shell.

The car also got a fresh set of 9.4″ gti brakes, a full set of Solowerks Mk1 coilovers and strut mounts.  We cleaned up some chassis wiring issues and sent it home with Bruce, he says he enjoys the look on mustang drivers faces when they cant shake the little mk1 econobox..

A few pics of the install below..


S&P Parts Used On The MK1 VR6 Build

MK1 VR6 Bolt in Conversion Kit

Mk1 VR6 Radiator

SoloWerks Mk1 Coilovers

Mk1 Mk2 MK3 VR6 Hidden MAF Intake Pipe and Filter

VR6 Flywheel and Clutch Kits Stock to Stage 4

Mk1 12v Vr6 Downpipe

Mk1 Mk2 02A 02J CABLE CLUTCH CONVERSION Kit

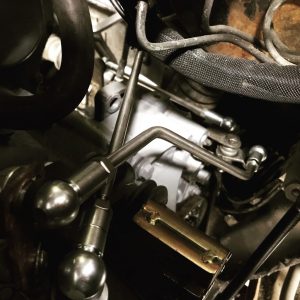
MK1 SHIFT LINKAGE KIT

Posted on

Install Videos !!


We have needed to do this since the first day we said, “Why don’t we ship out parts for everyone to put a tdi into their mk1” …


Well almost 10 years later, and we have a good start on a video library for using and installing our parts..


4cly Motor/Trans Parts Overview :


Hydro Clutch Kit


Mk1 DBW Pedal Install


Mk1 02a/ 02j Linkage Install


Mk1 Vr6 Hardware Overview:


Mk1 VR6 Harware Install 1&2:


Wiring Harness Removal Videos –

Mk4


Mk3


Recaro Seat Frame Install


Installing one of our “Standalone” style harnesses into a mk1 (this is a 24v but all of the connections to the car will be the same as any of our swap harnesses)


A shorter more concise version is here


MK1 02j Shift Box Install


Posted on

1980 Caddy TDI Swap

We are building a tdi swap for a customer, he sent us his 1980 caddy, an ALH out of a 00 beetle, and instruction to make it a functional truck, and a great daily driver.


  • Alh TDI swap
  • New brakes with rear disc
  • Working Ac
  • New heater system
  • 020 trans w/LSD


Onto the evidence :

Getting the truck and motor ready for a steam cleaning, 250 degree pressure washer will cut right through the old grease.


Prepping the motor for mk1 install:

  • Remove power steering, trim bracket off
  • Clock Turbo oulet
  • Remove Egr
  • Remove small idler


Trimming the cover for the motor mount:

  • Cut along the ridge of the timing cover, then straight down through the relief for the lower roller bearing
  • reinstall and check the fit with the S&P Mk1 – Mk4 bracket


  • Clock the turbo by removing the bracket and VNT vacuum pod from the exhaust side,
  • Then loosen the 6 bolts on the charge side and rotate the housing so that it is pointed up instead of down.


We installed our 020 clutch kit, the transmission, hung the rebuilt alternator and the new starter.  Waiting on the intake cleaning,  and we are almost ready to set a motor in the car.


Motor is IN!


Last thing to do is get the pedal mounted for the DBW ALH ecu..


For this to fit the way you want, you will need to trim the floor vent on the factory airbox.. its hard to see in a picture but once you hold the pedal up there you will see exactly what we mean.

Truck is outside for final fluid checks and setting the timing on the pump, hopefully we will have some driving videos from the owner soon!

Posted on

Matts 1981 VRirocco

Matt wanted to be able to jump in his Scirocco and drive it everyday, without worrying about the failing CIS system leaving him on the side of the road.   To overhaul the 1.8 and rebuild the CIS system was a realistic option, however after looking at the cost of the rebuild he realized he was well on his way to a later model motor swap.  Even better.  Better mileage from an 02 controlled fuel system, more power, easier to find parts. Win-win!

On to the evidence!!

IMG_5176 IMG_5177

Slightly better after a washing!

IMG_5178 IMG_5179

Ready to Paint!

IMG_5184 IMG_5189

Our  MK1 VR6 motor mounts ready to go!

IMG_5181 IMG_5180IMG_5182

Motor hanging!

IMG_5201IMG_5202

Integrated Cable Boss on our mk1 02a mounts, we also offer a smooth version for our mk1 hydro kit

IMG_5211


Its ready to go home!

Mk1 Vr6 Scirocco conversion, stainless shift rod kit, full 2.5″ stainless exhaust, silicone coolant lines, hidden 3″ maf intake pipe, 2.25″ tucked radiator with fan and shroud.  everything you need to have a fun in your mk1!


Interested in installing one into your own mk1? Interested in having us install one into your mk1?

Check the kit out here !!  Contact us anytime :  info@s-pautomotive.com


Posted on

S&P Radiator and Intercooler Stack

We shortened up our dual pass radiator, and made it stockier, 2.5″ thick core, so that we could put a 21×2.5×3″ intercooler core on the top of it.  Now we can add a condenser to the front if we need to, or tuck it all the way under the core support and make some room for that 1.8t log manifold.

We should have this ready for shipment by mid to late February, we are sorting out the last bits of attachment points, testing outlet sizes and making piping kits for 1.8t and TDIs


IMG_4771 IMG_4770 IMG_4767


Keep your eye out for a purchase date!

Posted on

SHAWWTYS ARE HERE!!

Look at that, a radiator that fits UNDER your core support, now you can tuck it out of your way.  Great for CARBS, ITBS, or even the big VR6 swaps..  We have a special shroud for these radiators, and as with our other radiators, they use the stock fan switch, and factory size coolant inlet and outlets.

Grab just the radiator HERE


Grab a shroud package HERE

img_4550 img_4549 img_4544 img_4545 img_4546 img_4547 img_4548