

I made a couple hardware overviews for our trans mounts, and engine swap kits, and I still have a few questions that I either didn’t address in one video or a tip I forgot, I am going to add a couple more videos soon, but this may make finding the info you’re looking for a little easier, if you have questions before during or after install please feel free to email me! Sal@s-pautomotive.com
General install Tips:
- Press your bushings in before you mount the brackets onto the motor or chassis
- If you have an 02j trans the upper trans mount holes are threaded, you need to drill them out to use the hardware provided
- Grease the inner speedo cable with a silicone grease before installing!
- I find it easier to set the radiator in the core support before I install the motor – but not bolt it down
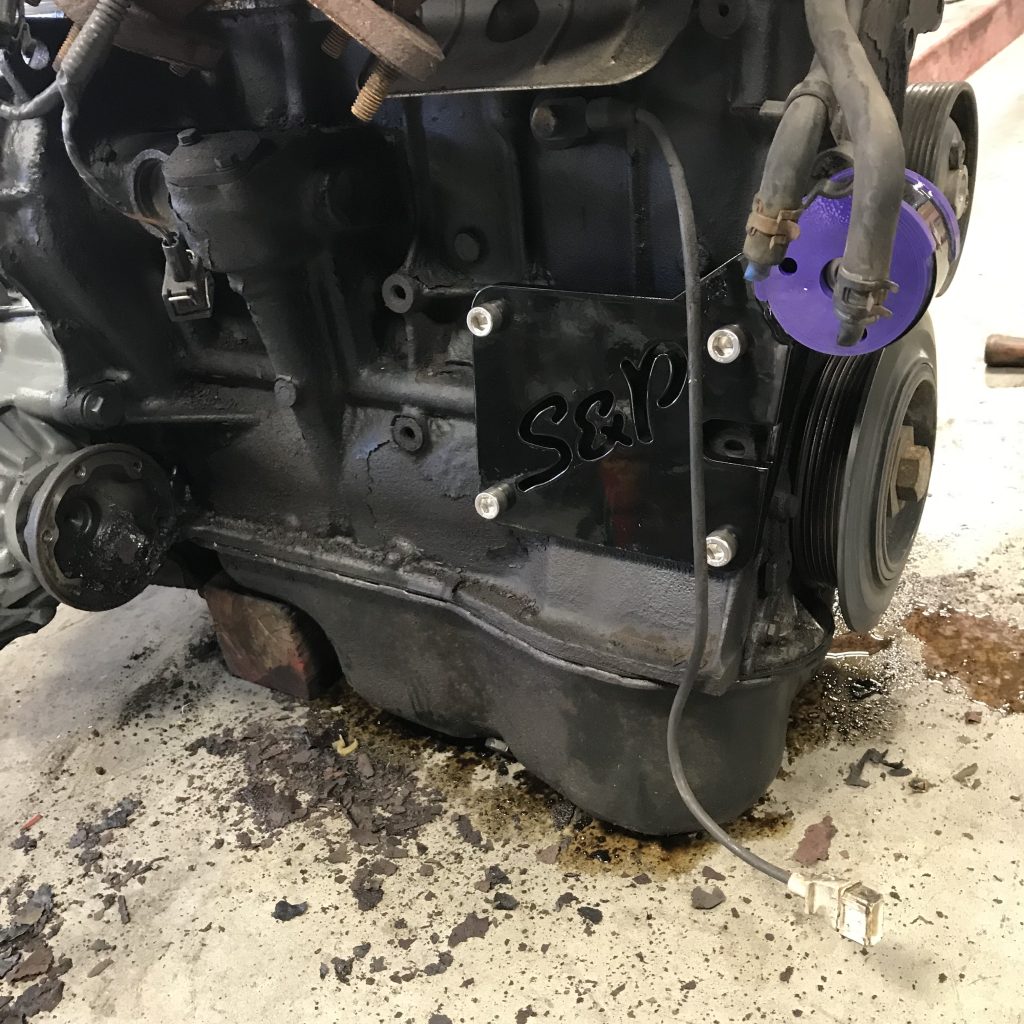
- For a cleaner install on a motor if you’re not using the AC/PS systems, (external WP motors ABA, HU, AEB cant be cut as much due to the waterpump) cut the bracket off just below the alternator mounting points to the block. (ALHs you will cut the PS off the top)
- Always start all the bolts in a bracket, manifold,cover etc before tightening any of them down
- If you are using the mk1 fuel lines, the best place to cut them I have found is just before the cross behind the steering knuckle, you can carefully hand bend them up toward the passenger strut tower and trim again to your desired length
- Work the exhaust system from front to back, hang everything loose in the clamps and work each section into final placement front to back as well
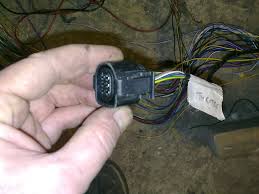
- If you’re using one of our harnesses the “Trigger” needs to have power in both the key positions START and RUN – this is often the problem for a no start, someone didn’t check that the wire they chose had power during the crank key cycle. A good source for this is your former coil power wire on gasoline cars, on diesels the injection pump power wire works well.


You must be logged in to post a comment.