

I am going to cover the install of the MK1 02j transmission mounts onto the transmission before you bolt it into the car. The 02a installation is very similar except the shift tower, you also don’t have to drill out any case holes.

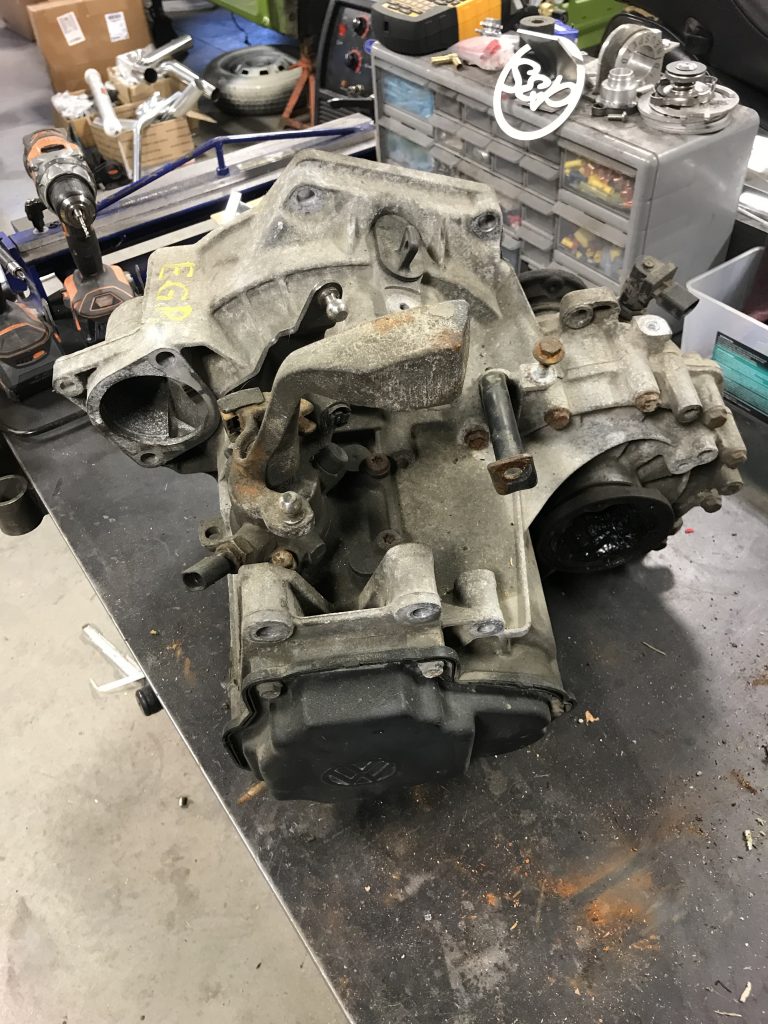
Here we start with a fresh mk4 TDI transmission, Code 02j, case is an EGR,
Remove the aluminum trans mount bracket if you haven’t already and the steel support bar that connects it to the case.
Next we remove the speed sensor, you will see that there is a 24mm nut under the plug of the sensor, you can remove just the top section of the speed sensor, this is what you want to do if you plan to use your mk1/2 cluster and one of our speedometer cables.


Now Remove the case bolts you see above, and replace them with the 3 bolts provided in your hardware kit, thread them until they are just starting to poke out the other side of the case,


Now slide the mount bracket and the half moon shim on until they are flush to the case of the transmission, once they are onto the bolts, you can thread the bolts all the way into the case,
Now start the tunnel nuts onto the threads of the bolts and run them down tight against the shim and bracket, then install the lock nut after, tighten it down against the tunnel nut.


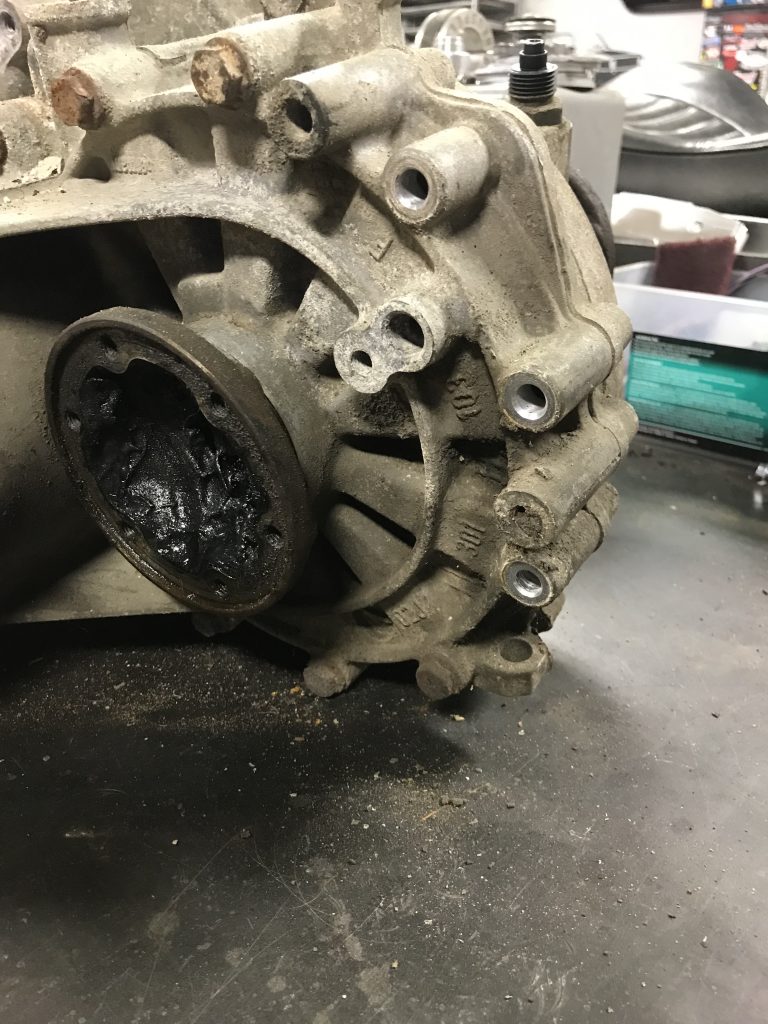
02J CASE MODIFICATION
If you have an 02a case you will find that these holes are not threaded, so no modification is necessary. The 02j case however is threaded, we need to drill them out with a 25/64 bit, you can use a 3/8 and ream it or file it, but 25/64 will be the cleanest/easiest.. You are drilling threaded aluminum, so a bit of speed and very light pressure will help the bit from hanging on you.
DO NOT try to run this bolt into an 02j case without drilling it out first, you will crack your case and probably wreck it..


Ok so we’ve drilled the hole and haven’t broken our wrist.. great! Now the bolt slides in no problem,
02A CASES, you will now install the shim in-between the upper mount and the trans case to take up the 1.5mm difference in width between the 2 cases.


02j tower (can be used on either 02a or 02j case) , if you are running a hydraulic clutch you can keep your reverse switch, skip to tightening down the upper trans mount bolts.
If you are running a cable clutch remove the reverse switch and install the provided delete plug, also grab the cable clutch mounting tab out of the hardware bag.


Slide the bolts from the 5th gear cover side through the mount, into the case and out the other side, if you have the cable tab slip it onto the bolts and then add the provided nuts.. tighten down, admire your work, get ready to put it onto your motor and into your mk1!


Mount Brackets used in this kit HERE

You must be logged in to post a comment.