Posted on

02J Case Modification for Mk1 Install

I am going to cover the install of the MK1 02j transmission mounts onto the transmission before you bolt it into the car.  The 02a installation is very similar except the shift tower, you also don’t have to drill out any case holes.


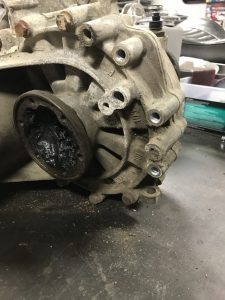
Here we start with a fresh mk4 TDI transmission, Code 02j, case is an EGR,

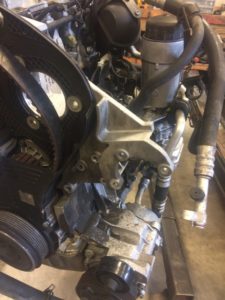
Remove the aluminum trans mount bracket if you haven’t already and the steel support bar that connects it to the case.


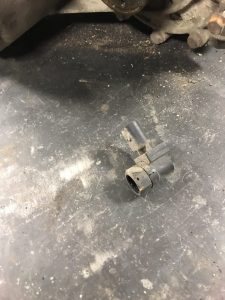
Next we remove the speed sensor, you will see that there is a 24mm nut under the plug of the sensor, you can remove just the top section of the speed sensor, this is what you want to do if you plan to use your mk1/2 cluster and one of our speedometer cables.


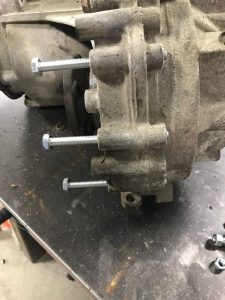
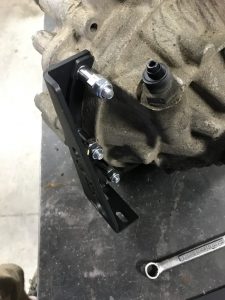
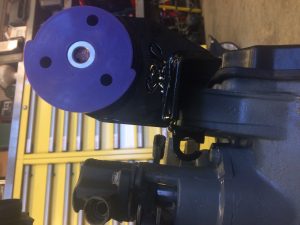
Now Remove the case bolts you see above, and replace them with the 3 bolts provided in your hardware kit, thread them until they are just starting to poke out the other side of the case,


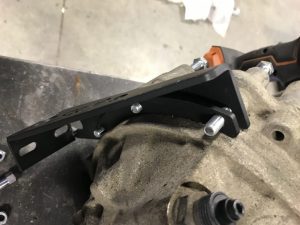
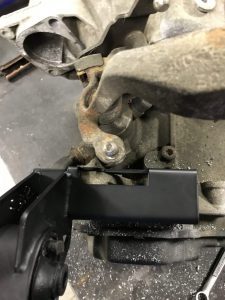
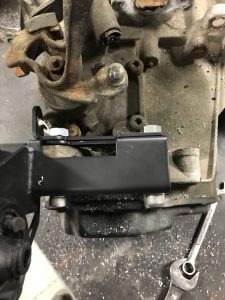
Now slide the mount bracket and the half moon shim on until they are flush to the case of the transmission, once they are onto the bolts, you can thread the bolts all the way into the case,


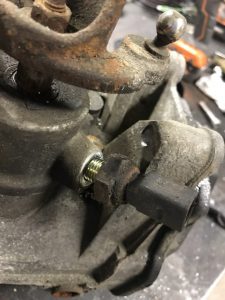
Now start the tunnel nuts onto the threads of the bolts and run them down tight against the shim and bracket, then install the lock nut after, tighten it down against the tunnel nut.


02J CASE MODIFICATION

If you have an 02a case you will find that these holes are not threaded, so no modification is necessary.  The 02j case however is threaded, we need to drill them out with a 25/64 bit, you can use a 3/8 and ream it or file it, but 25/64 will be the cleanest/easiest.. You are drilling threaded aluminum, so a bit of speed and very light pressure will help the bit from hanging on you.


DO NOT try to run this bolt into an 02j case without drilling it out first, you will crack your case and probably wreck it.. 

Ok so we’ve drilled the hole and haven’t broken our wrist.. great!  Now the bolt slides in no problem,

02A CASES, you will now install the shim in-between the upper mount and the trans case to take up the 1.5mm difference in width between the 2 cases. 

02j tower (can be used on either 02a or 02j case) , if you are running a hydraulic clutch you can keep your reverse switch, skip to tightening down the upper trans mount bolts.

If  you are running a cable clutch remove the reverse switch and install the provided delete plug, also grab the cable clutch mounting tab out of the hardware bag.

Slide the bolts from the 5th gear cover side through the mount, into the case and out the other side, if you have the cable tab slip it onto the bolts and then add the provided nuts.. tighten down, admire your work, get ready to put it onto your motor and into your mk1!


Mount Brackets used in this kit HERE

Posted on

Davids 81 Scirocco

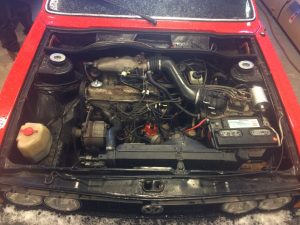
David called and said his 16v was making some “extra” noise, which he believed to be a rod bearing that took an unscheduled leave of absence..  David is from the great white north and had the car shipped down to us to look it over and try to come up with a game plan for his best options moving forward.  We weighed rebuilding the 16v, adding modern fuel management, even forced induction.  After several conversations about options he actually decided that a VR6 would be a nice mid ground to having a NA car, with modern injection control, and a fun to drive powerband.

So I got to work:

Ok, so I had to take advantage of the fact there were 3 red roccos here at the same time..

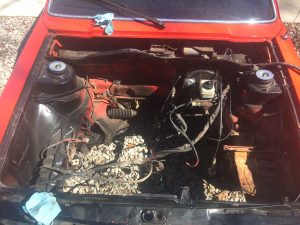
Now I really got to work…

With the old 16v out, the bay had a few issues from previous owners, while I do not sell myself as a paint and body shop, I will make repairs and spray an engine bay for a customer.

Back side of the repairs seam sealed and ready for service.
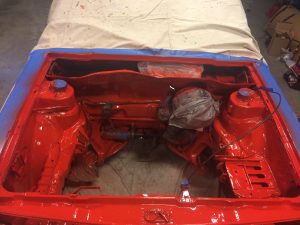
With the holes fixed, the bay was ready to paint.

A new coat of paint goes a long way in an old engine bay.

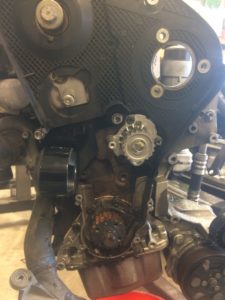
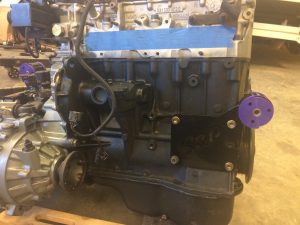
Onto getting the new driveline ready, I had an 04 touareg motor with under 80k on it.  With a touareg motor into a tranverse chassis there are a few pieces you need to swap from either a 2.8 BDF or mk4 r32 motor.  Oil filter housing, oil pump and pan,  exhaust manifolds, accessory bracket (if you want to keep AC, otherwise you can use the treg bracket and accessories) lower timing cover needs to be ground down to clear the trans.

As a rule I always replace service or wear items on a motor before I install it,  so this motor got chains, guides, rear main seal, plugs, coil packs, waterpump, water transfer pipe, thermostat housing, thermostat, valve cover and manifold gaskets.

With all of that done, I was ready to fit the motor.

As you can see the radiator is in before I fit the motor, I cover this in our install videos but this gets overlooked more often than I’d like to hear about.   I am using one of the S&P Mk1 Vr6 radiators with a single fan and a 70c fan switch.

David insisted that we find an Audi intake manifold to dress the motor up a bit over the boring Touareg manifold,  good call on his part, looks great on top of the VR lump.

I knocked out a hidden MAF intake, a remote fill bottle for the coolant system which finished off the plumbing to the radiator and heater core.  These along with the valve cover and upper strut brace got a wrinkle black powder coated finish from TopNotchCustoms located here in town.

Onto wiring,  as with many of these cars the wiring had been touched by alot of people, and they all left their mark..

I removed a lot of the old management wiring, some was even left from the 81 motor that was long gone,  there were abandon relays, multiple wire taps for radios or accessories at some point.  All of it needed to go and start with just what was needed for the current setup in the car.

With the interior wiring in a better place, I moved onto the battery which was moved to the back, using an S&P Battery Box I mounted the Optima Red Top into place with a main breaker mounted on the box itself, this prevents having a 2ga torch running the length of the car if you have a short between the battery and the fusebox/starter/alternator junction point.

The original headlights were tired, I installed some LED low beams and h4 high beams with a pair of Hella relays to keep the load off the switch, this also gave me time to put the face back on the ‘rocco.

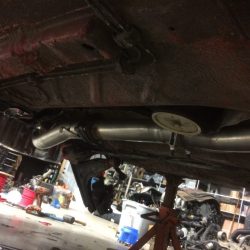
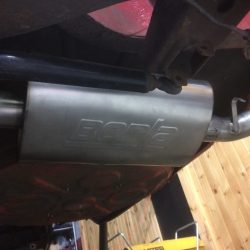
Time to get under the car and install the exhaust system. Using a 2.5″ stainless kit from TT with a Borla muffler gets the VR notes out in the perfect way without getting that drone while cruising the highway.

Onto suspension brakes and bearings, I installed a set of Mk1 Solowerks Coilovers  along with new bearings into the ‘rocco spindles, the car was already setup for 10.1″ 16v brakes so just a hardware refresh was needed there.

The seatbelt retracts were sticky, and unresponsive so we sent them out to Safety Restore and had them install some red belts for a bit of color on the inside, David once again was right, it looks great without being LOUD.

With all the safety issues covered it was ready for some road tests.

With all the safety issues covered it was ready for some road tests.

Exhaust Video

Driving Video

I was able to take it to a local show before it had to be loaded up and head home to the Great White North.

This has been one of my personal favorites, its not overstated, its not slammed beyond function, its a ton of fun to drive (yes even in the corners thanks to sway bars and reasonable ride height), it sounds great, it looks good enough to be brought to any GTG or show, but doesn’t have brand new don’t touch me with anything but a diaper paint.  Overall a well sorted car, I hope David gets many years of enjoyment out of it.

Parts available from S&P

Mk1 Vr6 Hardware Kit – Base

Cable Clutch Kit 

S&P Radiator – Vr6 Mk1

Vr6 AAA Based coolant hoses

Tach Adapter

Speedo Cable

Mk1 SS Exhaust

MK1 Vr6 24v downpipe

Solowerks Coilovers

Wiring Services

S&P Battery Box

LUK clutch kit

Posted on

Install Videos !!


We have needed to do this since the first day we said, “Why don’t we ship out parts for everyone to put a tdi into their mk1” …


Well almost 10 years later, and we have a good start on a video library for using and installing our parts..


4cly Motor/Trans Parts Overview :


Hydro Clutch Kit


Mk1 DBW Pedal Install


Mk1 02a/ 02j Linkage Install


Mk1 Vr6 Hardware Overview:


Mk1 VR6 Harware Install 1&2:


Wiring Harness Removal Videos –

Mk4


Mk3


Recaro Seat Frame Install


Installing one of our “Standalone” style harnesses into a mk1 (this is a 24v but all of the connections to the car will be the same as any of our swap harnesses)


A shorter more concise version is here


MK1 02j Shift Box Install


Posted on

1980 Caddy TDI Swap

We are building a tdi swap for a customer, he sent us his 1980 caddy, an ALH out of a 00 beetle, and instruction to make it a functional truck, and a great daily driver.


  • Alh TDI swap
  • New brakes with rear disc
  • Working Ac
  • New heater system
  • 020 trans w/LSD


Onto the evidence :

Getting the truck and motor ready for a steam cleaning, 250 degree pressure washer will cut right through the old grease.


Prepping the motor for mk1 install:

  • Remove power steering, trim bracket off
  • Clock Turbo oulet
  • Remove Egr
  • Remove small idler


Trimming the cover for the motor mount:

  • Cut along the ridge of the timing cover, then straight down through the relief for the lower roller bearing
  • reinstall and check the fit with the S&P Mk1 – Mk4 bracket


  • Clock the turbo by removing the bracket and VNT vacuum pod from the exhaust side,
  • Then loosen the 6 bolts on the charge side and rotate the housing so that it is pointed up instead of down.


We installed our 020 clutch kit, the transmission, hung the rebuilt alternator and the new starter.  Waiting on the intake cleaning,  and we are almost ready to set a motor in the car.


Motor is IN!


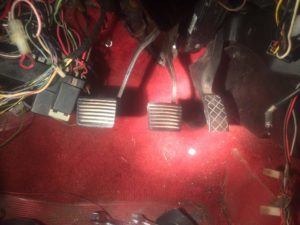
Last thing to do is get the pedal mounted for the DBW ALH ecu..


For this to fit the way you want, you will need to trim the floor vent on the factory airbox.. its hard to see in a picture but once you hold the pedal up there you will see exactly what we mean.

Truck is outside for final fluid checks and setting the timing on the pump, hopefully we will have some driving videos from the owner soon!

Posted on

VR-lequin

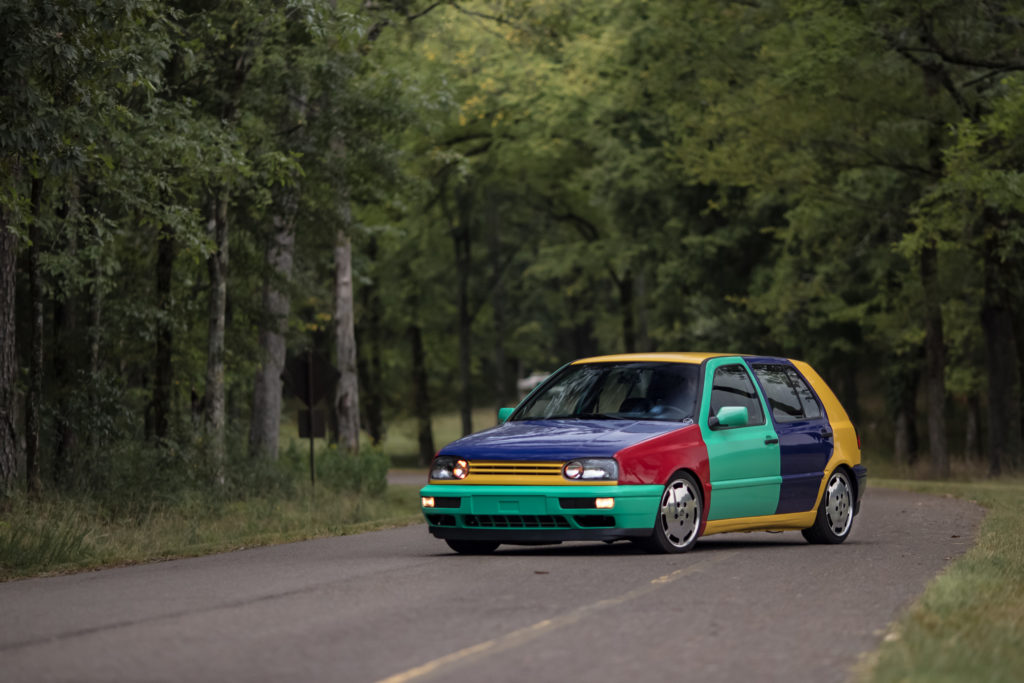
S&P’s take on a VR6 Harlequin.

Almost everyone has seen one, whether or not they knew it was a purpose built car and not an accident, who knows…

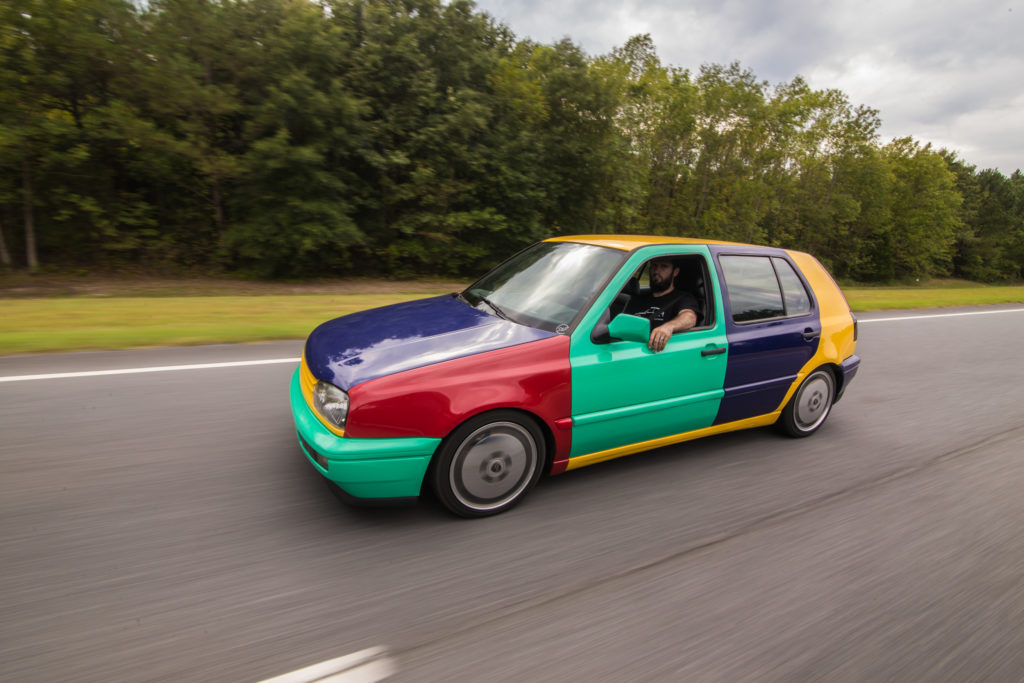
In 1996 Volkswagen built a small batch of cars for a promotional purpose. They were built on a 4 door Golf GL chassis, the only real interior difference was the seat upholstery, it was the same fabric used in the “joker” trim on European models of the same era.  The outside is where the “magic” happened, VW took panels from 4 base color cars (Red, Blue, Green and Yellow) and swapped the removable panels between the other base color cars, leaving you with a very loud exterior.


Fast forward to 2015, and I have an opportunity to buy a very sad, yellow base harlequin locally.  It had been resprayed at some point to be all yellow, but the colored panels were peeking through the worn paint.  The driveline was tired, the interior was beyond tired, it was time for either a restoration, or euthanasia…

I sent the car off in pieces to my local painter, he began smoothing out life’s abuses and owners neglect, fixing shopping cart dings, and poorly placed jack stands.  We needed a new hatch, or at least a tub that wouldn’t fall out every time you closed the hatch or went over a bump.

I found someone parting a 4 door golf, that had a lot of Euro market parts, hatch, bumpers, core supports, rebars, etc.  We took it all.

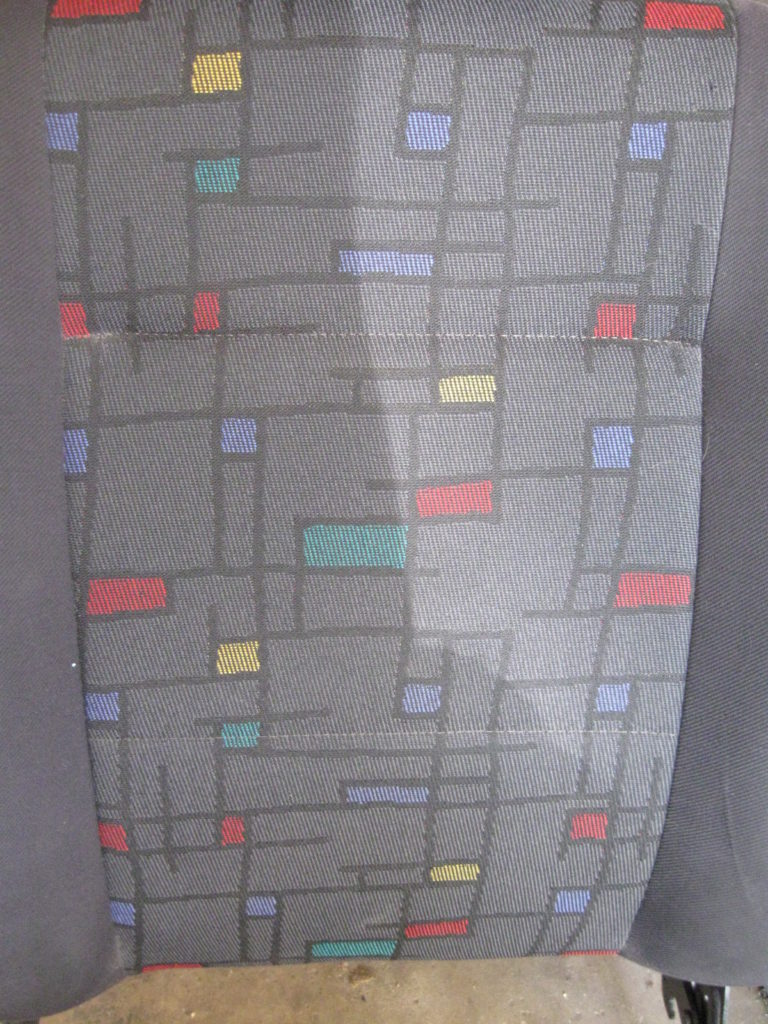
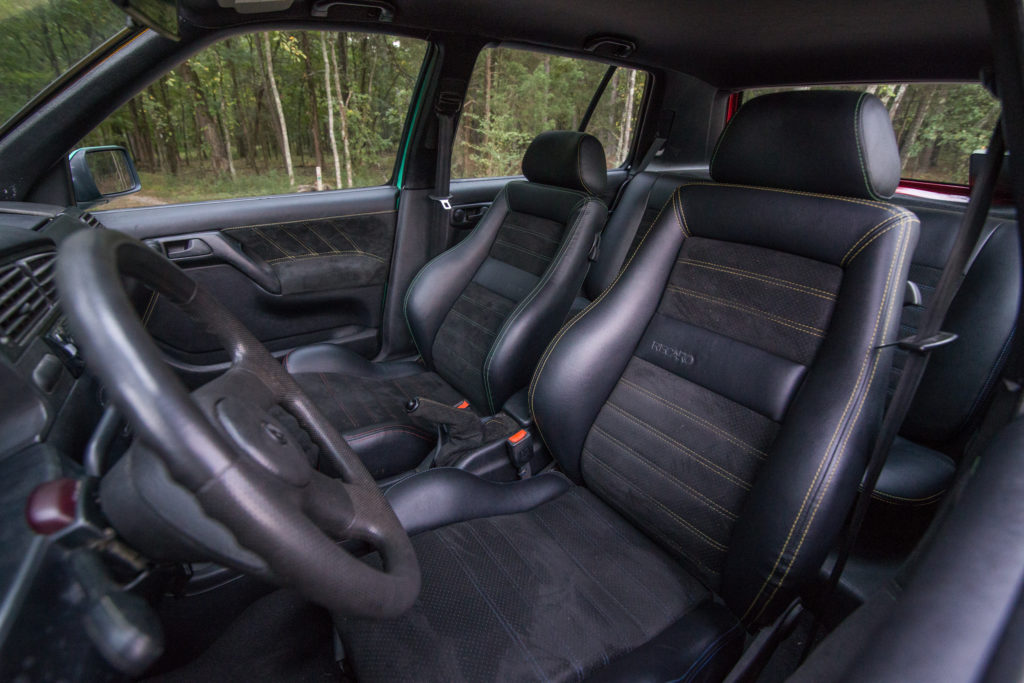
Next on the list was the interior, after looking and not finding anyone wanting to sell their limited edition seats, I spoke with Kip at Loves Trim Shop and worked out a plan for some new threads.  Mk2 Recaros on mk3 bases, leather wrapped, suede inlays and stitching to match the colors outside, without making the interior too loud to enjoy driving it.

That left me to get started on the driveline, the stock ABA was no different in the harlequin cars than it was in a standard Golf GL.

I had a 2.8 24v from a GTI that was wrecked, I had the machine shop go through the block, hone and a ring job, new bearings, new chains, guides, gaskets etc.

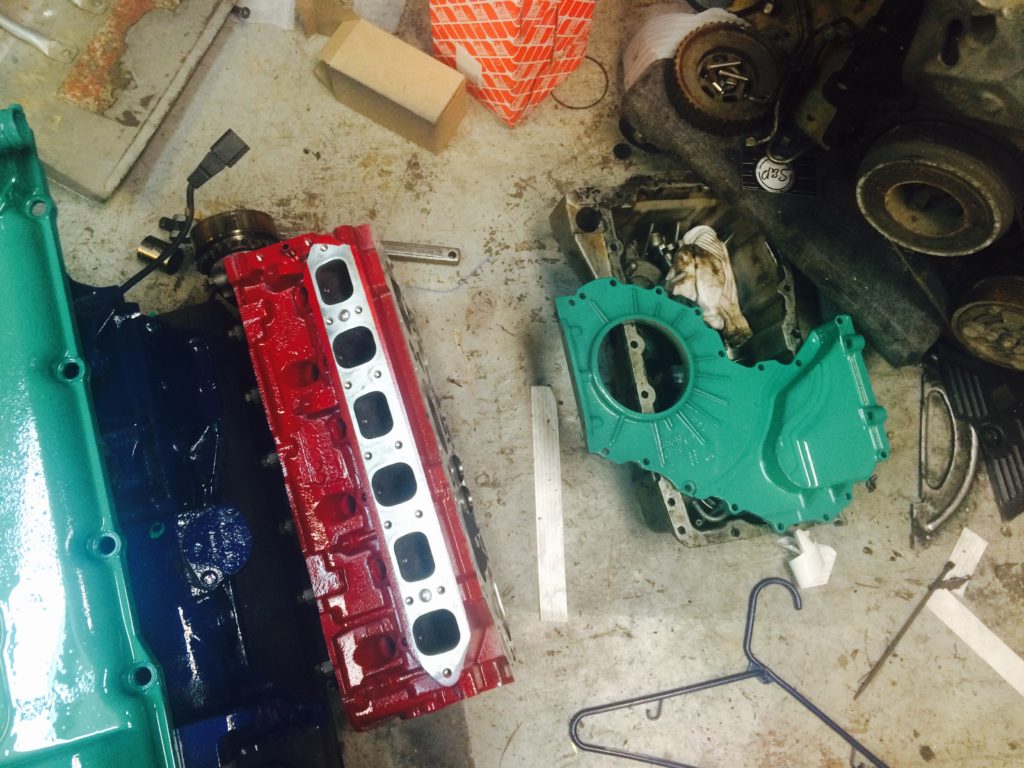
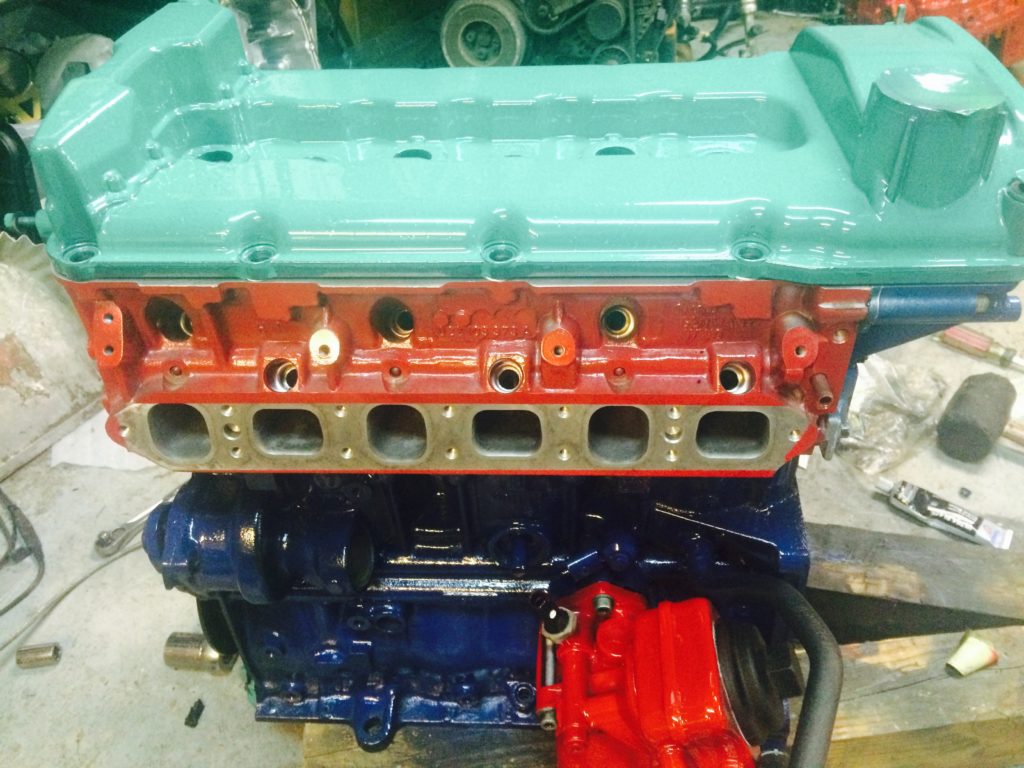
I couldn’t help myself, since I had it all in pieces I painted each section of the motor in the matching colors of the car, engine block, head, upper timing cover, lower timing cover, valve cover, intake, accessories, brackets…
I was seeing spots from all of the painting and planning.

Now that the car had been painted back to its original colors, engine painted and assembled and interior back from Love’s, it was time to make it a whole car again.
This is always the fun part, assembly is very gratifying.

Since the interior itself wasn’t very “loud”, Brandon Rosensteel at EuroGlow made an overlay for me.

Once the car was fully assembled, we could enjoy the best part of a vr6 swap – DRIVING!

During this build, a lady had contacted me about wanting to purchase the car when it was done. That is another story all together and arguably better than the one I just told you.
She and “Polly” now are in the Knoxville area, so if you see them, say hello!

Posted on

Matts 1981 VRirocco

Matt wanted to be able to jump in his Scirocco and drive it everyday, without worrying about the failing CIS system leaving him on the side of the road.   To overhaul the 1.8 and rebuild the CIS system was a realistic option, however after looking at the cost of the rebuild he realized he was well on his way to a later model motor swap.  Even better.  Better mileage from an 02 controlled fuel system, more power, easier to find parts. Win-win!

On to the evidence!!

IMG_5176 IMG_5177

Slightly better after a washing!

IMG_5178 IMG_5179

Ready to Paint!

IMG_5184 IMG_5189

Our  MK1 VR6 motor mounts ready to go!

IMG_5181 IMG_5180IMG_5182

Motor hanging!

IMG_5201IMG_5202

Integrated Cable Boss on our mk1 02a mounts, we also offer a smooth version for our mk1 hydro kit

IMG_5211


Its ready to go home!

Mk1 Vr6 Scirocco conversion, stainless shift rod kit, full 2.5″ stainless exhaust, silicone coolant lines, hidden 3″ maf intake pipe, 2.25″ tucked radiator with fan and shroud.  everything you need to have a fun in your mk1!


Interested in installing one into your own mk1? Interested in having us install one into your mk1?

Check the kit out here !!  Contact us anytime :  info@s-pautomotive.com


Posted on

Bolt in Mk1 Hydraulic Clutch Kit

With the help of our Canadian friends we have put together a nice bolt in hydro clutch kit for your mk1.  Now putting that six speed 02m into your mk1 chassis just became a little easier.

Our kit comes with the backing plate, wilwood .75 master cylinder, and optional slave cylinder if needed.  02m users will need a threaded bleeder adapter which will be offered soon, but for now can be purchased from vendors like 034 motorsport or ECS.

Base Price 375 plus shipping!

Order It Here

Posted on

S&P And Tech53, Joining Forces to Bring You Better Parts Faster!

In the MK1 world, you’ve probably heard of or even purchased some of Freds awesome parts he provides for the mk1 community.  To help us with our Canada canada customers and to help his USA customers we will be stocking some of Tech-53.com ‘s gear here in the USA, cheaper on shipping, faster shipping with no customs for the customer to deal with ect…

Keep an eye out for some new things coming our way!!

Big brake kits, mk1 mount options, billet bearing inserts for the steering column, scirocco rain trays, ect.  billet camber billet caps billet guides BBKmk1-8T TRSMT02A02J-2

Posted on

Summer Software Sale

It’s time for a summer sale, if you are thinking about a mk4 motor swap for your mk1, we are offering 20 percent off your wiring harness work or ecu tuning when you purchase an integration kit from us. This offer is good until around mid August. Purchase of the integration kit must be between July 10 and August 15, your harness can be scheduled up to a month after that. image image


Posted on

How To Install Our Parts by VWDIESELNET

Ryan over at VWDIESEL.NET wanted to build a tdi swapped caddy using our parts.  He went way beyond the call of duty and made a set of videos documenting the various parts used, and how he installed them.  Check out the website for more awesome videos on keeping your VW on the road.  http://www.vwdiesel.net


Part 1 : Parts Overview


Part 2: Mounts and Engine Prep


Part 3: Shift Rods, Cable Clutch Kit, Exhaust