

I get a lot of the same questions about how to prep your motor for a mk1 install:
- What do I need to remove ?
- You need to remove anything you plan on deleting from the motor management system, this could be accessories like AC or powersteering, hardware like EGR/ASV systems (check with your local regulations before removing emissions items) or possibly sensors such as MAF, Coolant Glowplugs, 02 sensor, turbo position sensors etc (please discuss this with your tuner/harness builder before you toss them in the bin)
Below I will go through some steps on how to attach our mk1 tdi motor mount onto your block, please note I am not covering this as a step by step, but more to answer the most common questions.
Use common sense, ask questions before assuming, don’t eat yellow snow..
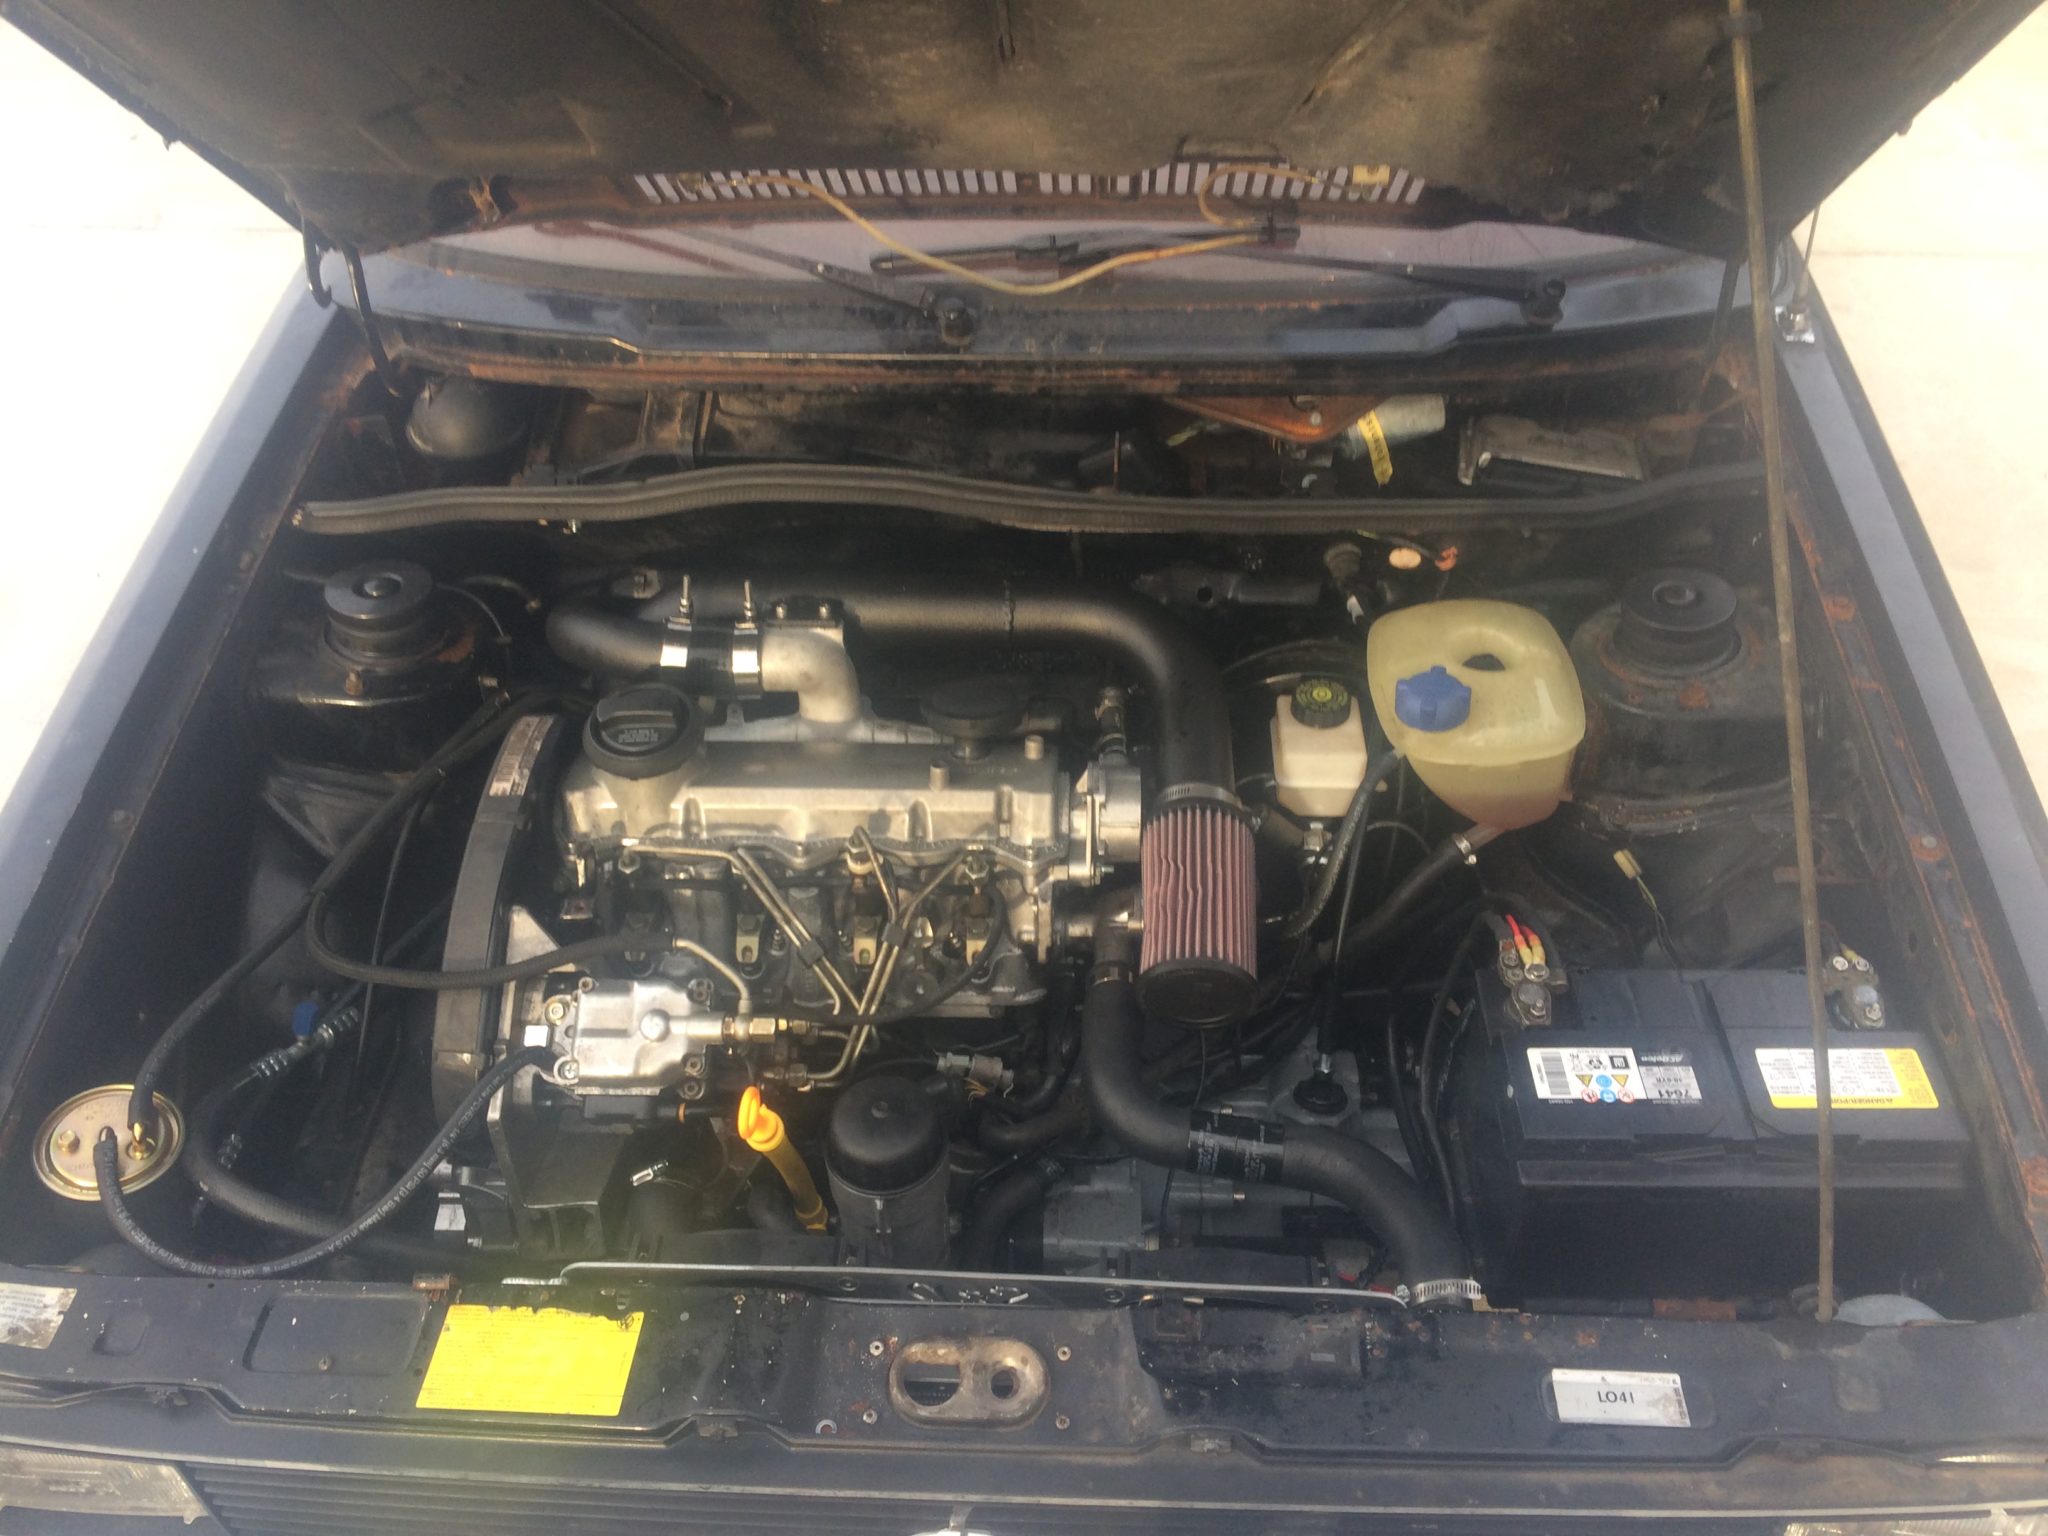
ALH Motor Timing Cover Modifications

Starting with the motor mount, this is how your bushing should be oriented before you mount it to the motor.

Next we see an ALH with the injection pump and tensioner removed (the pump bolts need to be removed and the outer pump sprocket are going to need to come off. Also remove the cam gear and idlers (if you don’t know how to do a timing service on a TDI look it up BEFORE you take this apart)
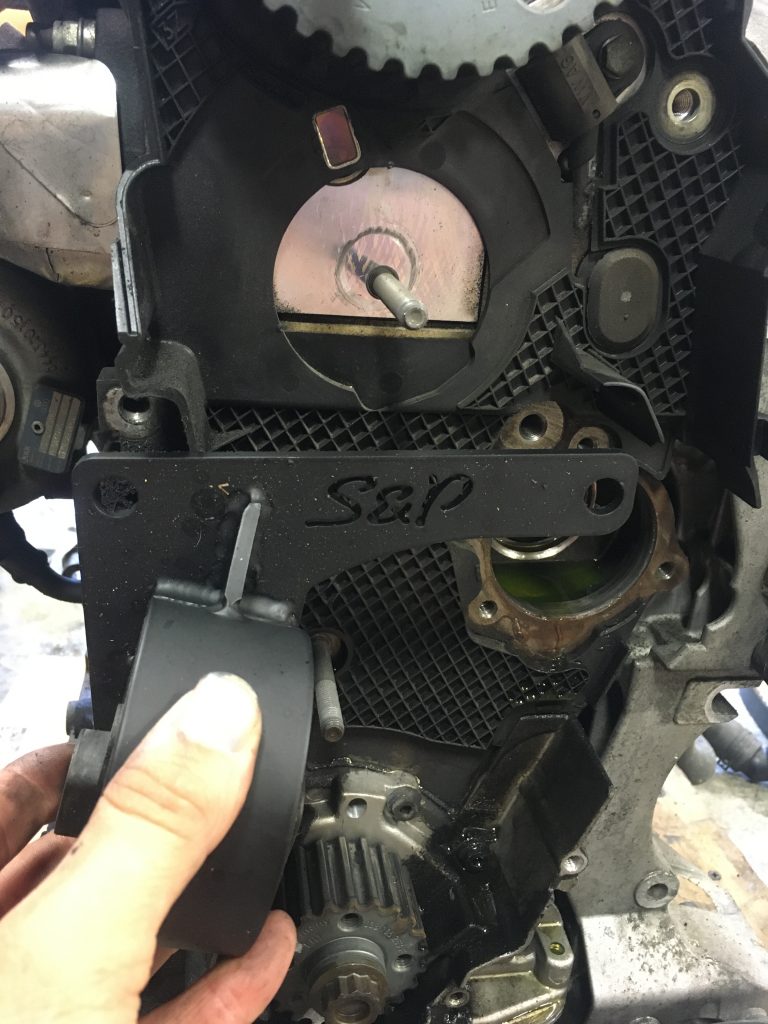
The reason for taking all of this off is to remove the rear timing cover so we can trim it to allow room for the new motor mount :

Need to trim this lower corner off, you can see how deep to cut it by holding the new mount up to the 3 threaded holes on the block where the original aluminum mount bracket was bolted. Make small cuts, its waaaay easier to take alittle more off, vs adding material back.

In the picture above you can see how the new cutout allows for a flat mounting surface across the 3 mounting holes

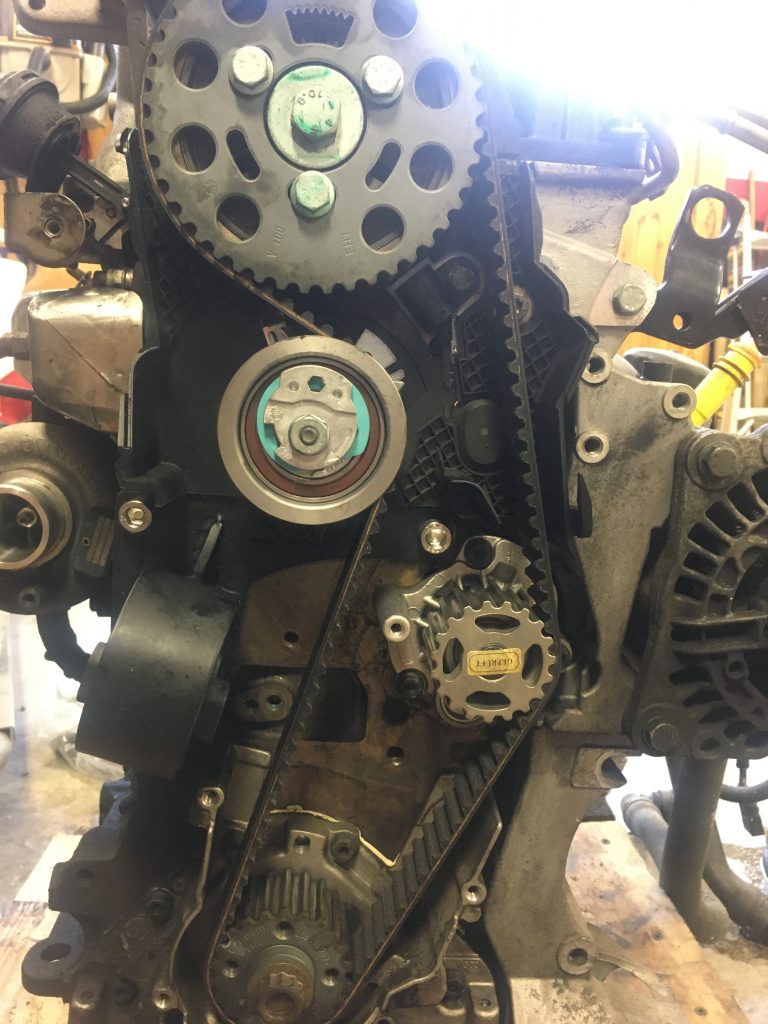
With that you can mount your motor mount to the block and you are ready to re assemble the timing components * DO NOT INSTALL THE LOWER 1″ roller and stud, yes it will clear the engine block mount, but it will hit your mk1 frame rail, DO NOT INSTALL IT, install the belt like normal and tension the belt like normal, it will be fine, there is plenty of room in the tensioner for the additional slack.
BEW Timing Cover Modifications
Starting with the same mount and bushing as the ALH above, you can see where the mount needs to go, you need to remove all of the timing components to get the rear timing cover off,

Take note of the location of the holes and the area you need to cut to get the mount bracket flush on the block

Make your cut and test fit, the mount must sit flush on the block..

Tighten the mount down once the timing cover fits around the mount bracket. Reinstall timing components leaving out the lower 1″ roller just like the ALH.
ALH and BEW OUTER COVER
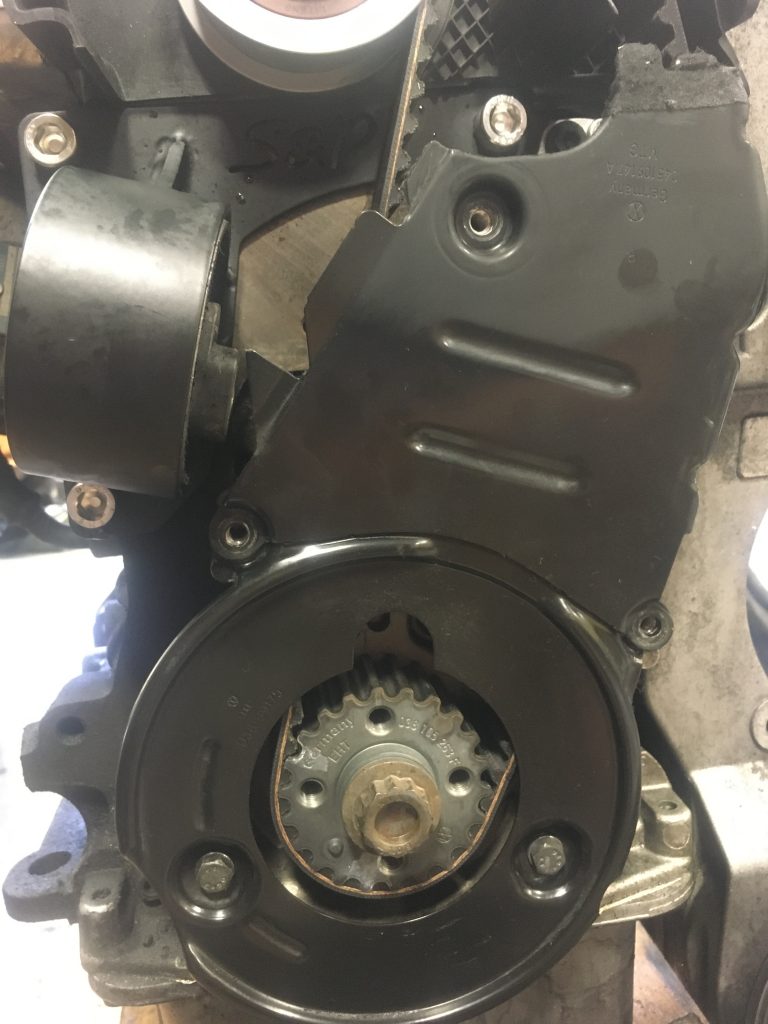
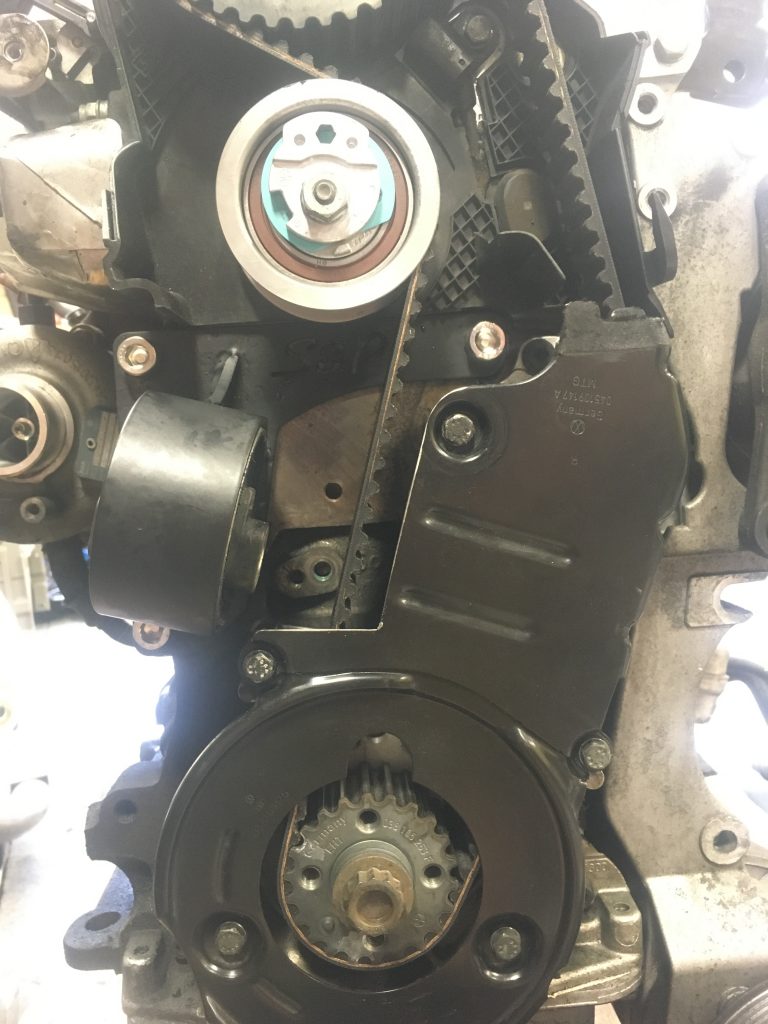

You can see in the first picture the timing cover is very close to the mount bushing, which means it will hit the frame mount on your mk1, it needs to be trimmed flush with the belt (the second picture shows a slight over trimming honestly but it will still be ok, you will also need to trim the upper cover slightly on both the BEW and ALH..
Engine mount being used can be found here
TDI Mk1 Swap kit can be found here
Again if you have questions on how something goes, shoot an email, watch a youtube video, something other than assuming..


You must be logged in to post a comment.